
Daniel Fourquet, a GIS Analyst at the Transportation and Mobility Planning Division of the Virginia Department of Transportation, walks users through the process of using Python to create Add-Ins for ArcMap.
Most GIS users are familiar with Python as it is the preferred language to write scripts and geoprocessing tools in GIS. ArcMap has the ability to create add-ins using Python, and I have come to really value this feature.
What is a Python add-in?
An ArcMap add-in is a customization of ArcMap that helps the user accomplish a special task. An add-in may exist as a collection of tools in a toolbar or as code that runs in response to an event, such as when a new document is created. Initially, creating add-ins required knowledge of .NET or Java in order to work with the ArcObjects SDK, but starting with ArcGIS 10.1, Esri introduced the ability to create add-ins using a language that many GIS users already have experience with – Python.
Python add-ins are intended to be simpler than their .NET/Java counterparts. They provide limited ability to customize the UI beyond the use of buttons and text boxes in a toolbar and they don’t have access to all of the functionality that ArcObjects has to offer. Simple can still be powerful, however. A python add-in can greatly improve your workflow. They can be quick to create and are easily shared with colleagues by passing along a single file.
Esri dropped the ability to create Python add-ins with the release of ArcGIS Pro, which is unfortunate given how useful they can be and how widespread the knowledge of Python is in the GIS world. Pro add-ins must be created using ArcGIS Pro SDK for .NET. However, those of us who use ArcMap can still take advantage of this feature!
What can Python add-ins do?
There are limitations to what you can do with Python add-ins. For example, your access to ArcGIS classes and methods are limited to what ArcPy has to offer. You can import outside Python packages, but ArcMap gets along with some better than others – attempting to use TkInter to create a GUI for your add-in will result in an ArcMap crash, for example. To give you an idea of how you might use Python add-ins, here are some of the add-ins that I have created while working at the Virginia Department of Transportation:
1. Find information about related features and copy it to the clipboard – This add-in allowed the user to enter a project ID into a text box. It then selected features within 25 meters of the project, printed a summary of what was found in the Python window, and copied the data into the clipboard for pasting into a report.
2. Open Google Street View in the location that the user clicks on a map (see Code Example below) – It is sometimes useful to be able to see what an area looks like on the ground when working with transportation data. While it’s easy to navigate to an area of interest in Google Maps and enter Street View from the browser, it’s even easier to write an add-in to do that for you.
3. Select features by multiple fields based on a single string – There are a series of tables that I commonly use whose records are identified by a combination of 3 numeric fields (jurisdiction number, route number, and sequence number). Often I am sent an email asking to look at a specific record written in a few different formats, eg “123 4567 890”, “1234567890”, or “123/4567/890”. I made an add-in that will let me copy and paste the ID from the email. The add-in will parse the ID, create a sql WHERE clause, and select the correct record for me.
Basic Steps for Creating a Python Add-In
Esri’s online help covers Python add-ins well, but here is a short version of the process to get you started:
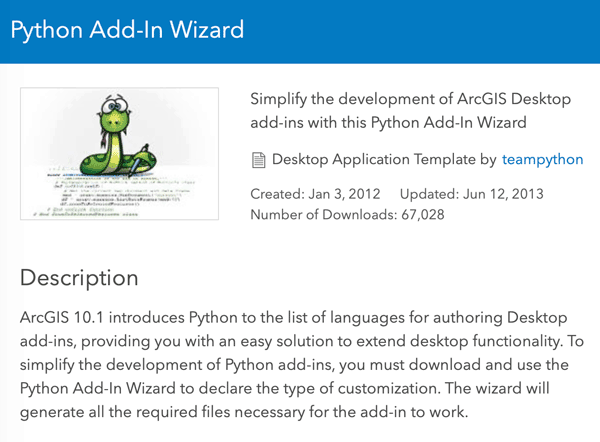
- Download the Python Add-In Wizard. The Add-In Wizard (aka Addin Assistant) will set up the basic structure of your add-in. The wizard doesn’t need to be installed; simply copy the “addin_assistant” folder to a location that you will remember.

- Set Up Your Add-In with the Wizard. Start the wizard by running addin_assistant.exe. You will first need to set a folder path where the wizard will create your project. You will then be prompted to enter basic information about your project. Don’t forget to edit the Add-In Contents tab, where you add the elements that your add-in consists of, such as toolbars and buttons.

- Write Add-In Code. Once you click the Save button, the wizard will create the folder and all of the necessary files to start working on your add-in. You will find the .py file that you need to edit in the “Install” folder.

- Test Your Add-In. To test your add-in you will need to run the makeaddin.py file in your projects main folder. This will create your add-in’s installation file, which has a .esriaddin extension. Opening this file will install your add-in. This is also the file that you will need to pass along if you are sharing it with others.


Python add-ins are notoriously finicky to test. If there is a syntax error or other major problem with the add-in, you might be greeted in ArcMap with a new button that says “[ Missing ]”.

Double check your code for errors. The print() function will print to ArcMap’s python window, which can be very useful for debugging your add-in.
Code Example
Finally, below is an example of a completed add-in. I hope that you have found this overview of Python add-ins in ArcMap helpful!
About the Author
Daniel is a GIS Analyst at the Transportation and Mobility Planning Division of the Virginia Department of Transportation. He loves maps and tinkering with Python.