Esri’s propriety layer package is a compressed file that contains the geographic, attribute, and sometimes the styling information for a GIS dataset. A layer package has the file extension .lpk.
While QGIS cannot natively read an Esri layer package directly, there is a quick and easy way to unpack the file so that you can import it into this GIS software.
These instructions are written for converting and importing an Esri layer package using Mac OS. Related: How to Add Data from ArcGIS Online to QGIS
Compress the Layer Package
From the Finder, locate the Esri layer package. Right click on the layer package file and select “compress” from the options.

Uncompress the Zipped File
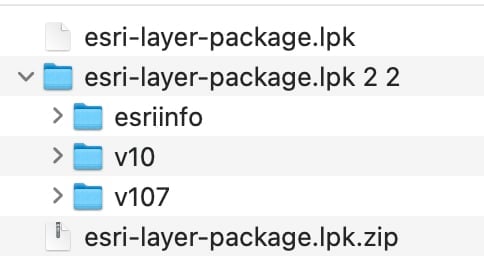
Compressing the layer package will create a new file in the same location that has the .zip extension. To uncompress this file, simply double-click it. The native archive utility that comes with Mac OS will extract the contents of the zipped file.
You should now see a folder with the same name as the Esri layer package. If you look inside the folder, you should see three additional folders named: esriinfo, v10, and v107.

Open up QGIS and Add the Geodatabase Folder
Open up a new or existing project where you want to import the Esri layer package to.
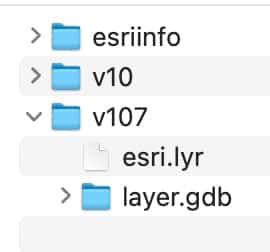
In Finder, open up either the v10 or v107 folder. Within that folder, there should be another folder with the name of the layer package and a .gdb extension (for geodatabase).

QGIS can read geodatabase files.
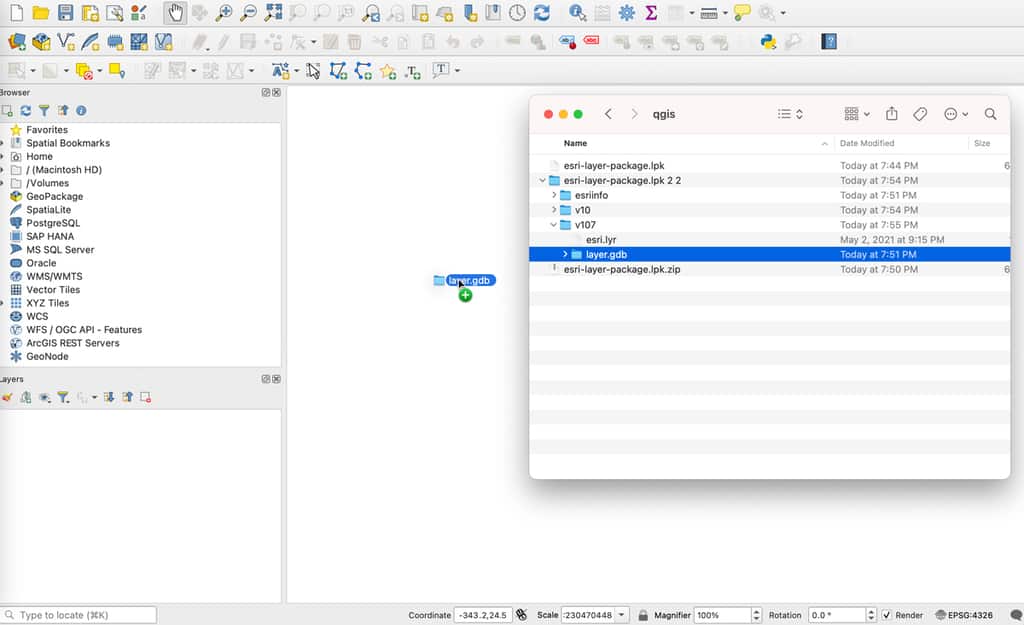
Select the folder with the .gdb and drag it into the map pane in QGIS. Your cursor should switch to a green circle with a white plus symbol. That indicates that QGIS recognizes the data format.

Drop the .gdb folder into the map pane and your data will be loaded into QGIS.
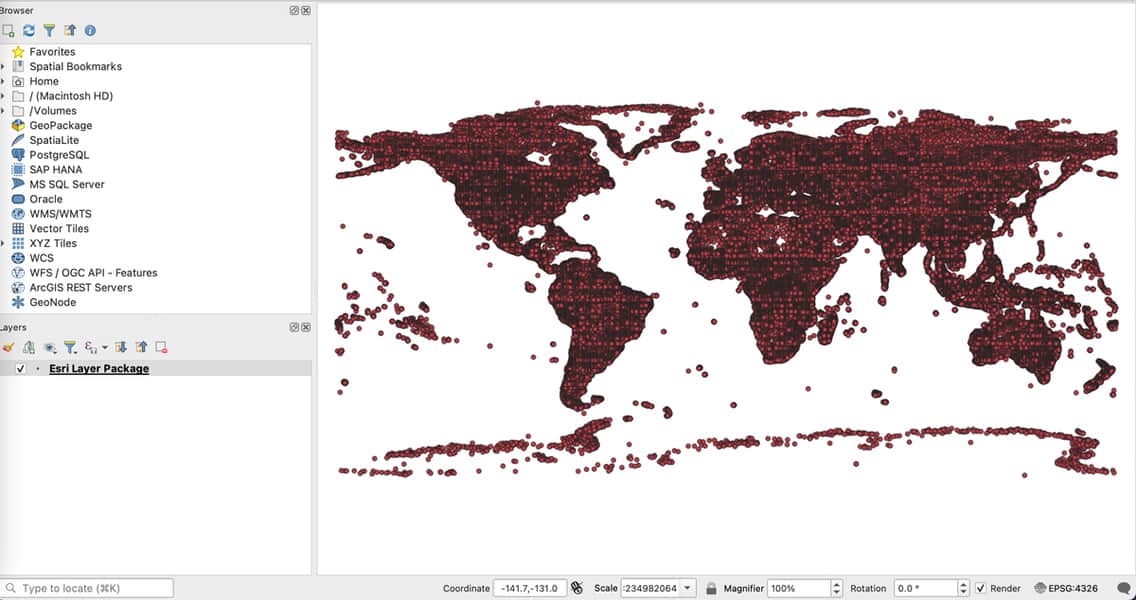
The Esri GIS Data file will now display in the map pane. The attribute data can be view by either clicking on one of the features with the Identify Features tool or by right-clicking and selecting Open Attribute Table from the menu options.
Any symbolization or custom labeling will not carry over as QGIS cannot read that information out of the box.

And, that’s it. This is a quick and easy way to import an Esri Layer Package file into QGIS.
